
tongue and groove ceilings on 45 degrees
 When I originally designed our timberframe house, I had in mind that we would use SIPs (Structural Insulated Panels) for the walls and roof of our house. The SIPs would have provided adequate stiffening of the roof structure, so wayback, I had omitted any diagonal timber bracing in the roof. But for various reasons, I eventually decided to use the SIPs only for the walls of our timberframe house. Now that SIPs were no longer in the plan for the roof, I needed to stiffen the roof somehow. Some options that I considered were: (1) plywood sheathing, (2) hidden 2x6 braces above the tongue and groove ceilings, and (3) traditional timber braces. Option 1 was undesirable because of the addition of "manufactured" wood that was not from our farm. Option 2 just wasn't honest (hidden braces in a timberframe?!) and would have complicated the insulation. Option 3 would have been an inordinate amount of work, given that the frame was already raised.
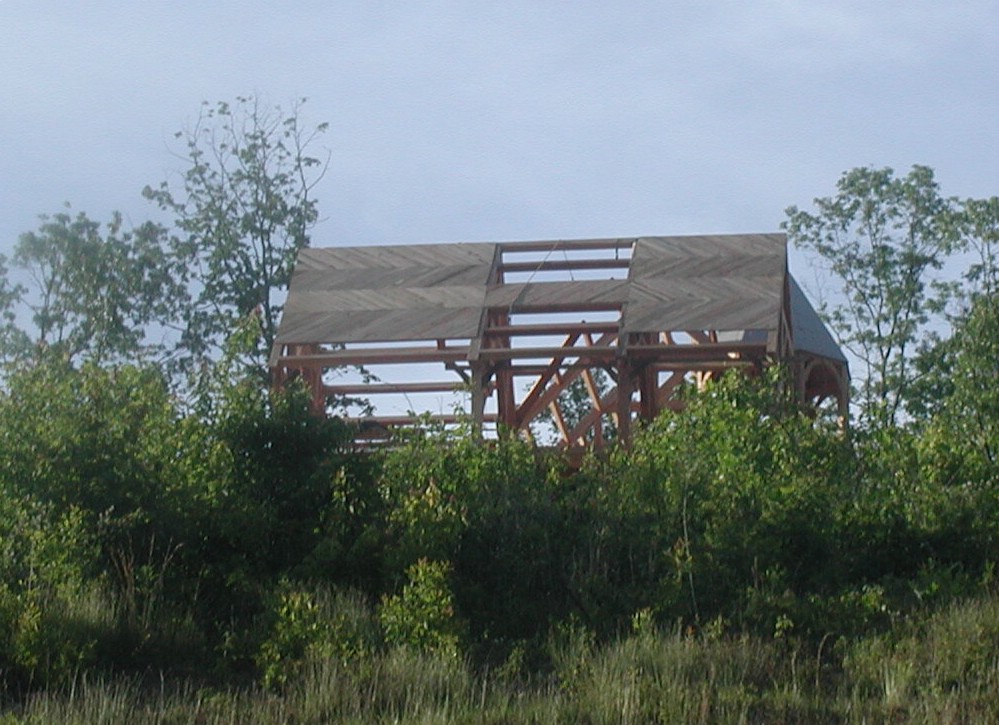 What I came up with was to run our tongue and groove ceiling boards on a 45 degree angle, and switch directions at every purlin. Every tongue and groove ceiling board that we added was therefore going to act as a corner brace in the roof plane. If one brace is good, then hundreds of braces must be even better. But this meant that each end of every board had to be cut on a 45, and all of the boards had to end on purlins. A lot of work... and if we didn't pay attention, a lot of waste when the ends of the boards got trimmed. But as it turned out, because we were careful, none of our waste pieces were ever more than 6" long. In the corner of every purlin-rafter intersection, we got a chance to use up the short boards.
 The weatherman predicted 5 sunny days in a row, which means I had an opportunity to make hay on our farm and get the tongue and groove ceilings down on the biggest plane (the south plane) of our roof and get it covered up. It took 4 of us 3 days to cut and put down about 800 square feet of prefinished tongue and groove and to cover it up with the temporary waterproofing (6mil plastic sheet) that will later act as our vapor barrier. You can see the clear plastic and temporary battens have been applied to the roof in the last picture. This would have been nearly impossible without safety harnesses, good rope, and the crane.
posted by Thomas Massie at Wednesday, May 24, 2006
![]()

0 Comments:
Post a Comment
<< Home