
Some pics of SIPs from the inside
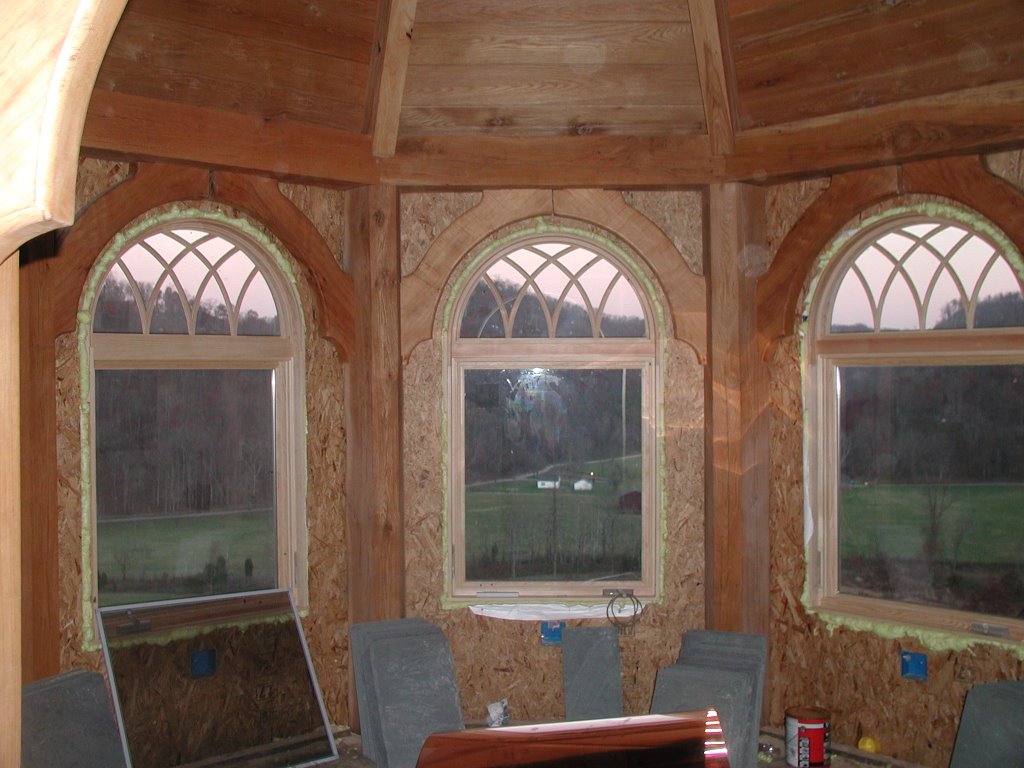
 We've been working on the roof, and nothing else, for quite some time. But instead of posting more roof pictures, I climbed off the roof, inside the house, and snapped a picture of some of the work that we completed a few weeks ago. This is a picture of the arched windows inside of what will be our dining room. I framed one of the windows within of a pair of walnut timber frame braces. To get the windows and braces to line up took a lot of planning (and shopping for windows). There was enough play in the rough opening of the SIPs (+- 1/2") to get the window exactly centered within the braces.
I can't wait to cover up that OSB with white drywall, but first we have to get the darn roof finished. If you look at the top of the photograph, you will see some mildew on one of the timbers, because water has been entering the timber frame for 10 months now! A mixture of 50% bleach and 50% water cleans this mildew off without any scrubbing (although scrubbing helps). A good rinse of water, and then a coat of raw linseed oil brings the color right back. Of course, we'll have to undertake all of this "timber refreshing" before the drywall is hung.
 Here's a picture of the "tower room," located two floors above the dining room. The two 5 sided white oak posts that frame two corners of this room are the same posts that you see in the dining room photograph... they're 26+ feet long. We used "Great Stuff for windows and doors" to insulate the cracks between the windows and the SIPs. This room is 8 sided, and I included a pair of braces in every wall of this room. All three of the windows in this room are therefore framed by braces. (yeah, I got lazy down in the dining room... and only included one pair of these neat braces, but it just didn't work out nicely down there... the braces wanted to be in-line with the main house frame, not the 45 degree walls.) In this picture you can also see some of the slate we're starting to stockpile on the third floor. (we eventually bring it out on to the roof). Which brings me to the last photograph...
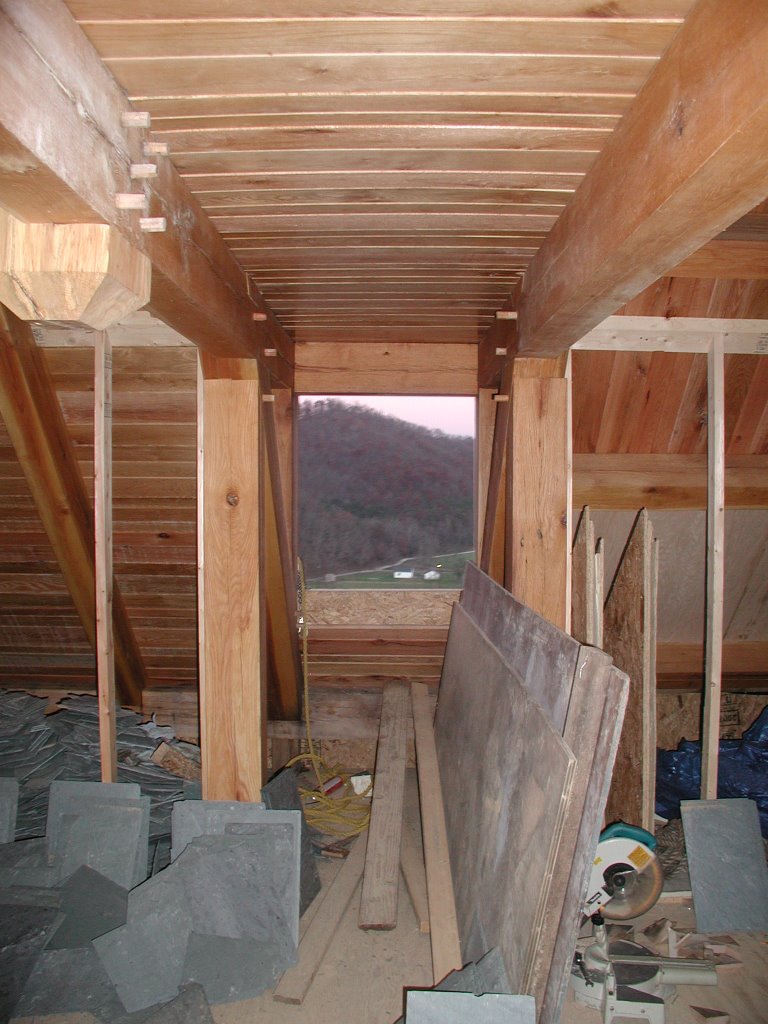 This room will be my oldest daughter's room, but for now, it is the "central slate depot." In the bottom left of this photograph, beyond the stick framed knee wall partition (in what will be her closet) you can see the pile of broken and cutoff slates, which are a by product of cutting the slate for hips and valleys. (before anyone asks, the makita saw in this picture is for cutting wood - not slate!) These pieces of slate will make a great tile floor in one (or several?!) of our rooms eventually. Whereas my smallest useable roof slate is 8"x18", 6"x6" floor tiles will work just fine, and this pile of broken slates will make a ton (literally, 2000 pounds!!!) of 6"x6" slates.
The ceiling beams to the right and left are actually "collar ties" that connect the timber rafters and forma roof truss. In my design, I ran these collar ties beyond the rafters to serve as the "top plates" of the dormers on the east and west sides of the house. I have seen a lot of commercial timber frames where the dormers are stick framed, but I think it is worth the extra effort to frame the dormers with timbers. The horizontal tongue and groove ceiling that you see is actually the floor of a loft that I created in her room.
posted by Thomas Massie at November 09, 2006
![]()
2 Comments:
Thomas,
The house is coming along great. When you do the floor, you don't need to limit yourself to 6" by 6" tile. You can use different sizes of squares and rectangles and get a very nice random pattern.
Gary in Mississippi
Thanks Gary, I might try that. I looked at some slate web sites, and they have sample "random" patterns available. Here are some examples (for anyone following this thread...) http://www.camaraslate.com/floor.htm
Post a Comment
<< Home