Second hammer beam raised
 I'm trying to catch up on my blog -I haven't updated in 3 weeks now - but much has happened! Since I last reported, among other things, we have raised the second hammer beam...
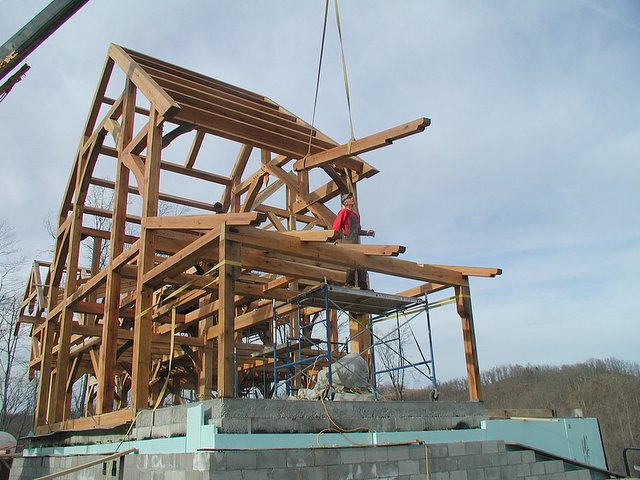
Whereas we raised the first hammerbeam bent in one complete piece, we decided to raise this hammer beam bent in 3 pieces. Everything was previously test fit on the ground... actually it was test fit and assembled last summer on the other end of our farm! So first, we had to jack the hammerbeam truss up on blocks, drive a car trailer underneath of it, lower it on to the car trailer, and shut down a 1/2 mile section of the county road to move this bent to the house site. (The road was only shut down for 2 minutes - I put the tractor in high gear and drove as fast as I could without hitting trees or mailboxes on either side of the road!)
 The picture collage to the right shows the sequence for how we raised this bent. It was critical that we got the hammerbeams themselves lined up, so that the feet of the rafters and queen posts (hammerbeam posts?) would sit on the hammerbeams without a lot of mid-air adjustments. Perhaps you can see the stringline that we used to line up the hammerbeams in the pictures? Fortunately for us, it lined up fairly well, so the hammer beams required only a little bit of hammering before the hammer posts dropped into their housings. The peg holes were pre-drilled, so 10 tapered pegs were all that was needed to bring the bent together that last 1/4 of an inch.
posted by Thomas Massie at Sunday, April 30, 2006
0 comments
![]()