Radiant tubing under a subfloor
 In my previous post, I described installing hardwood tongue and groove flooring directly to 3x3 floor joists on 12" centers... thereby forgoing the typical plywood subfloor. Based on our first experiment (and 200+ years of historical precedence), it looks like that will work just fine. The brand new floors squeak a little bit, but I think I can solve that in the other areas with a shot of Liquid Nails between the flooring and the floor joists.
Where we'll be installing tile, slate, or stone floors, we'll need a typical subfloor - I just don't see any way around it. This first picture is the subfloor for the foyer and master bath. I chose 3/4" t&g plywood instead of 3/4" t&g OSB. Although Advantech (tm) OSB has a 50 year warranty, I feel that plywood is the lesser of the two evils. On top of this plywood, we'll install Hardibacker brand cement backer board before installing the actual flooring material. Never having done this before, I'll be using guidelines found in books and the internet. If anyone has any tile installation advice, please post now! :)
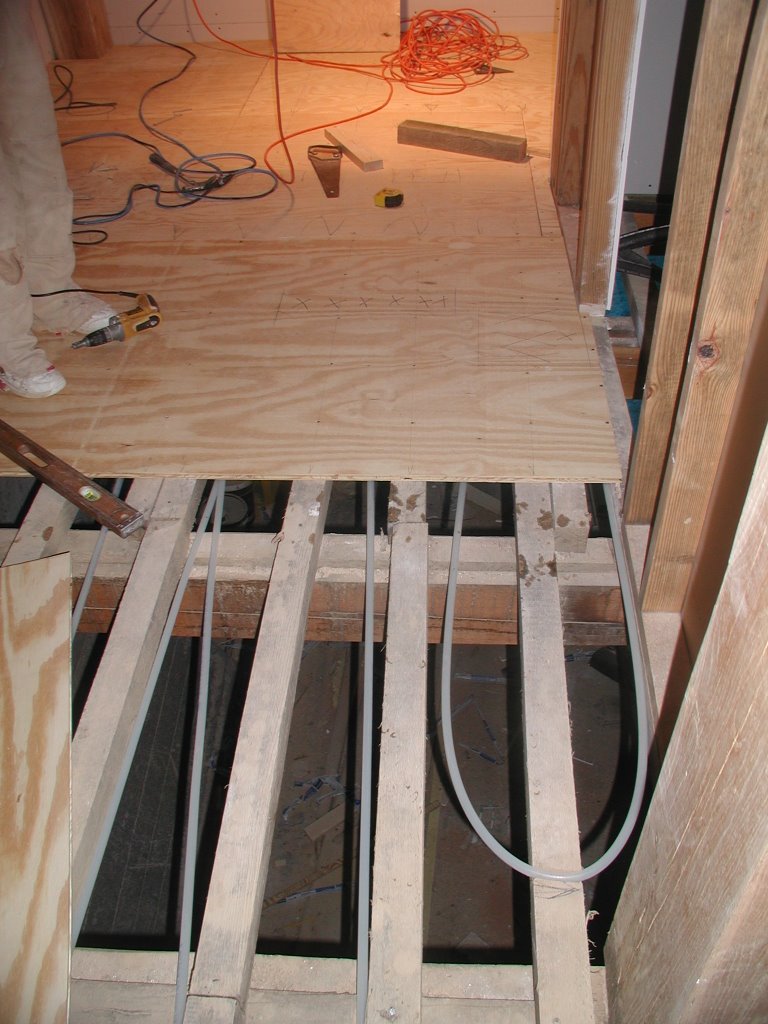
 The last step before installing the subfloor is installing the 1/2" radiant heat tubing. Technically, we could install the radiant heat tubing from below, after the subfloors go down, but it seems to be a lot easier to pre-install it from above. My brother-in-law is using his router to cut channels in the floor joists wherever the radiant tubing must cross the 3x3's. Per the instructions on radiant heat web sites (google radiant heat if you're interested), I'm installing about 1 linear foot of tubing per square foot of floor space. The tubing costs about 40 cents per running foot. I'm trying to keep all of the loops about 200 feet in length. If you make the lengths too long, the water will be harder to pump, and will give up all of its useful heat before reaching the end of the loops. We've been careful to mark the "NO NAIL" regions of the subfloor because we don't want to poke a nail through the radiant tubing after it's all been installed!
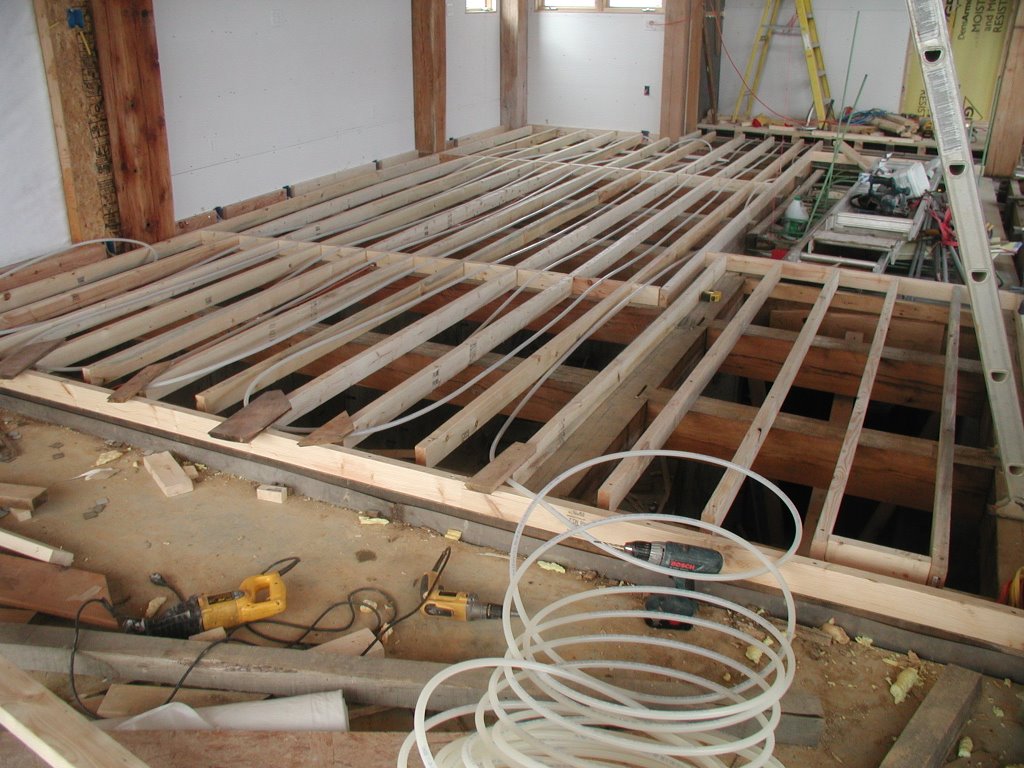 The last picture shows the tubing beneath the kitchen, just before we installed the subfloor. Here, I used store bought fir 2x4's on edge instead of home-cut oak 3x3's. Using store bought lumber was a shortcut that cost me more money, but also helped to solve the problem of leveling the transition between adjoining tile floors and hardwood floors. BTW, if 2x4's and 3x3's sound like wimpy floor joists, keep in mind they are spanning less than 4 feet and are on 1 foot centers. After installing the plywood subfloor, this floor system has zero noticeable bounce or deflection. (Hear that Uncle Jeff? I know this has been keeping you up at night!)
Later, we'll go back in the basement and tack the radiant tubing up to the subfloor and hardwood floors with highly conductive aluminum brackets. Keeping all of the tubing in place so we can nail the subfloor down is has been somewhat of a chore. The tubing has a spring-like shape memory and wants to coil back up like it was shipped from the factory. Beware - it will reach out and smack you or trip you whenever it gets the opportunity. We have learned the hard way!
posted by Thomas Massie at Monday, January 29, 2007
4 comments
![]()