Slate Book Review:
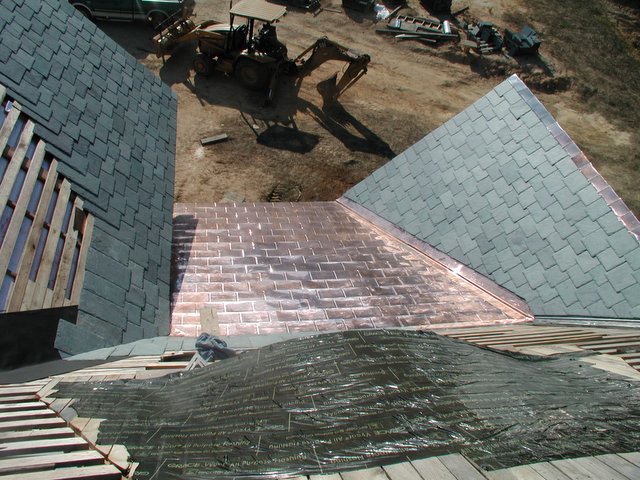
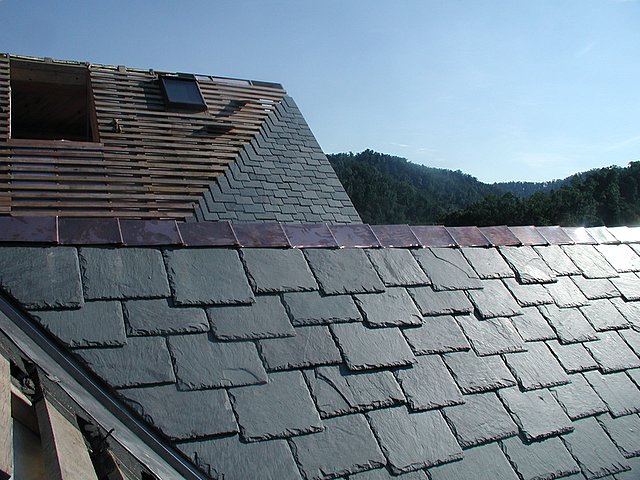
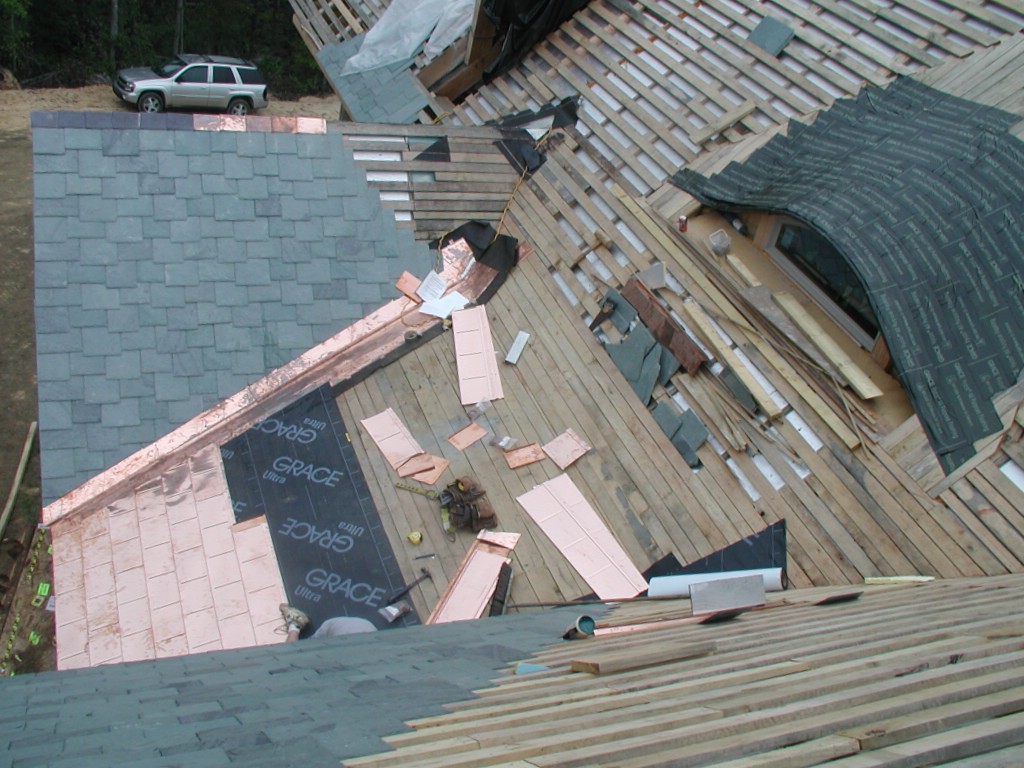
 Before I get in to the book review, let me describe my relatively new found fascination with slate... Slate is to roofs as Timberframing is to structures. A slate roof on a timberframe structure seems like a natural match, both crafts are carried over from the days when people had the pride and time to build things "right," and not much patience for building things "temporary." Slate is a natural product (it is stone!) that outlasts any known man made roofing material. (Although we should check back in on this claim in a couple hundred years to see if stainless can give slate a run for its money). Unlike asphalt shingles, there is no toxic trash left over from the installation - simply more rubble for backfilling your foundation. And just as with old timbers, slate roofing is often recycled into another structure when it excedes the lifespan of its original structure. I'm puzzled that slate roofs are not more prevalent on modern timberframe structures. Well, on with the book review... I probably can't convince you that slate is the "world's finest roof," but maybe these books can...
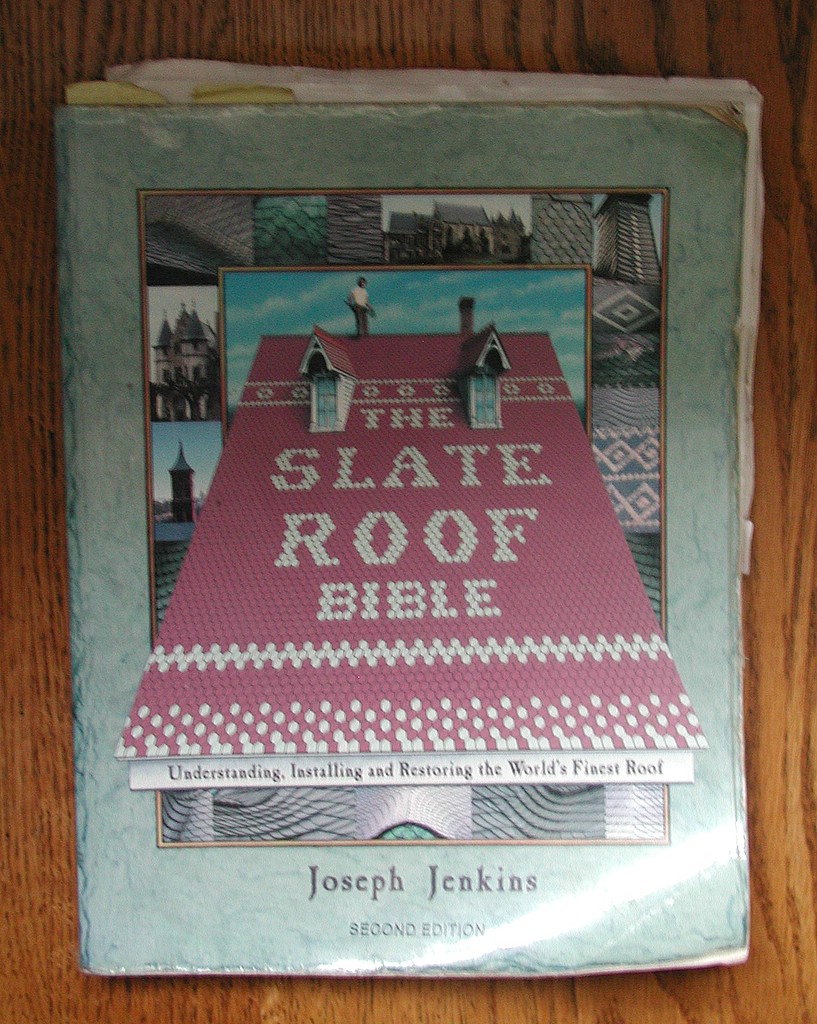
Title: The Slate Roof Bible, Understanding, Installing, and Restoring the World's Finest Roof
Author: Joseph Jenkins
 This is by far my favorite book about slate roofs. It's amusing, witty, and informative. It's loaded with color photographs. The book describes (in great detail!) various styles of slating, the tools you'll need, how to repair a slate roof, the types of slate that are available, the geology and chemistry of slate, and some interesting history of slate quarries in the US and abroad. It seems clear to me that Joseph Jenkins has been as important to the craft of slate roofing as Ted Benson has been to timber framing. The author and his family personally visited quarries all over the world in the process of compiling information for this book. If you own a slate roof or if you're just comtemplating a slate roof, you really need this book. Like the best books on timberframing, I have read this book several times and each time I discover something new. My copy is well worn and dog-eared. The book lives up to its lofty title.
http://www.slateroofcentral.com The author of The Slate Roof Bible, Joseph Jenkins, maintains an active web site devoted to slate roofs. The discussion board is fairly active and his e-store has hard-to-find tools at reasonable prices. (I bought a slate hammer from him and one from ebay.) Also, somehow he is able to sell stainless steel nails cheaper than if you bought them directly from the supplier. (I bought 50 lbs from him).
Title: The Slate Book: How to Design, Specify, Install, and Repair a Slate Roof.
Authors: Brian Stearns, Alan Stearns, and John Meyer.
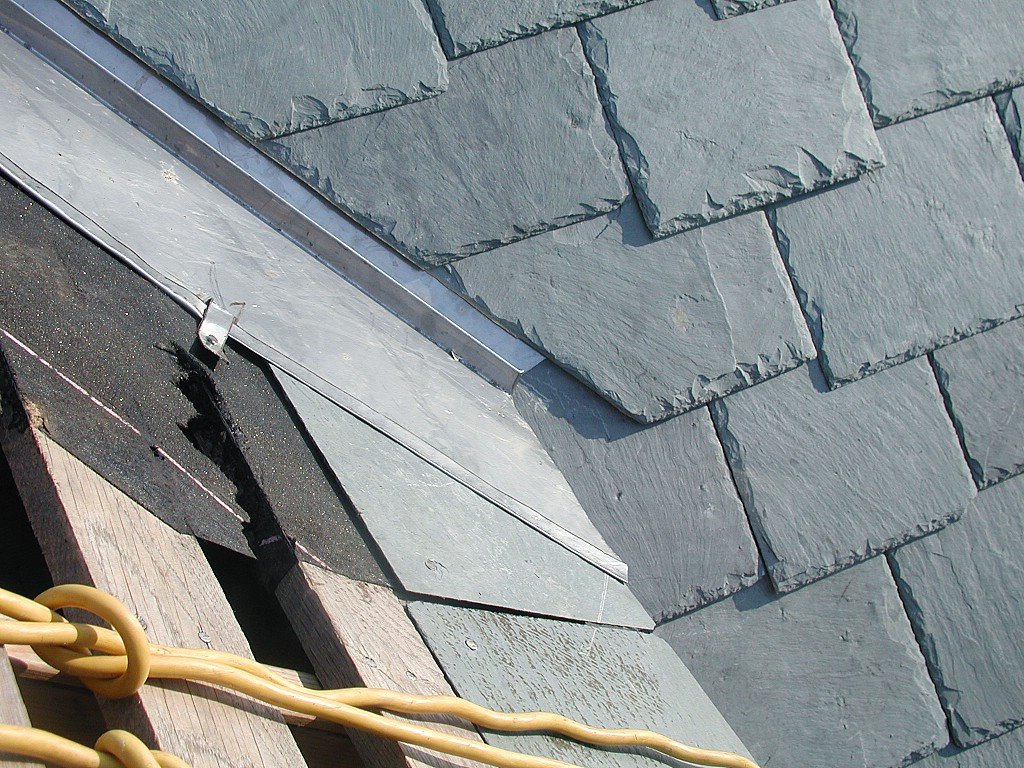
95% of what you need to know about slate roofs is in Joseph Jenkins' book - the other 5% is in this book. Whereas The Slate Roof Bible has hundreds of color photographs, this book has only a few black and white photographs of actual slate roofs. This book also has three authors... and it shows... when was the last time you read decent prose written by more than one author? But this book is not meant to be a work of art - it's a "manual," and somewhat useful. I'm glad that I bought it, as it fills in some of the blanks left in Jenkins' book, because it walks you step-by-step through each step of installing a slate roof. I found the comprehensive review of flashing methods and valleys to be extremely helpful. One of my complaints about this book is that I bought it to gain more insight on how to lay out eyebrow dormers, and here it falls woefully short. In fact, although the book has a "diagram" of layout lines for an eyebrow dormer, there's no photograph of a finished eyebrow dormer in this book. Any book that proposes to teach you something about eyebrow dormers darn-well ought to have at least one photograph of one! (Jenkin's book has two pages of color photos of eyebrow dormers.) If you're just a little interested in slate roofs or wondering what questions to ask, buy Jenkins' book, but if you're staring at 43,000 pounds of slate (like I was a few weeks ago) that need to be nailed to your roof, then you owe it to yourself to buy this book as a "second opinion" on slate roofs.
posted by Thomas Massie at August 28, 2006
6 comments
![]()